
On Episode #82: RV Makeover 101 with the Pop Up Princess, I shared 5 ways I had given our RV a little face lift this Spring. After that episode aired, I was surprised by a deluge of emails and social media comments asking when we were going to share pictures of the makeover.
Insert long, uncomfortable pause.
I’m certainly not an interior designer, and I’m basically the anti-crafty mom. So while I was happy to talk about my RV changes on the podcast episode, I was sort of nervous about sharing photos. I imagined the response would be: So what? Big deal. You barely made any changes at all!
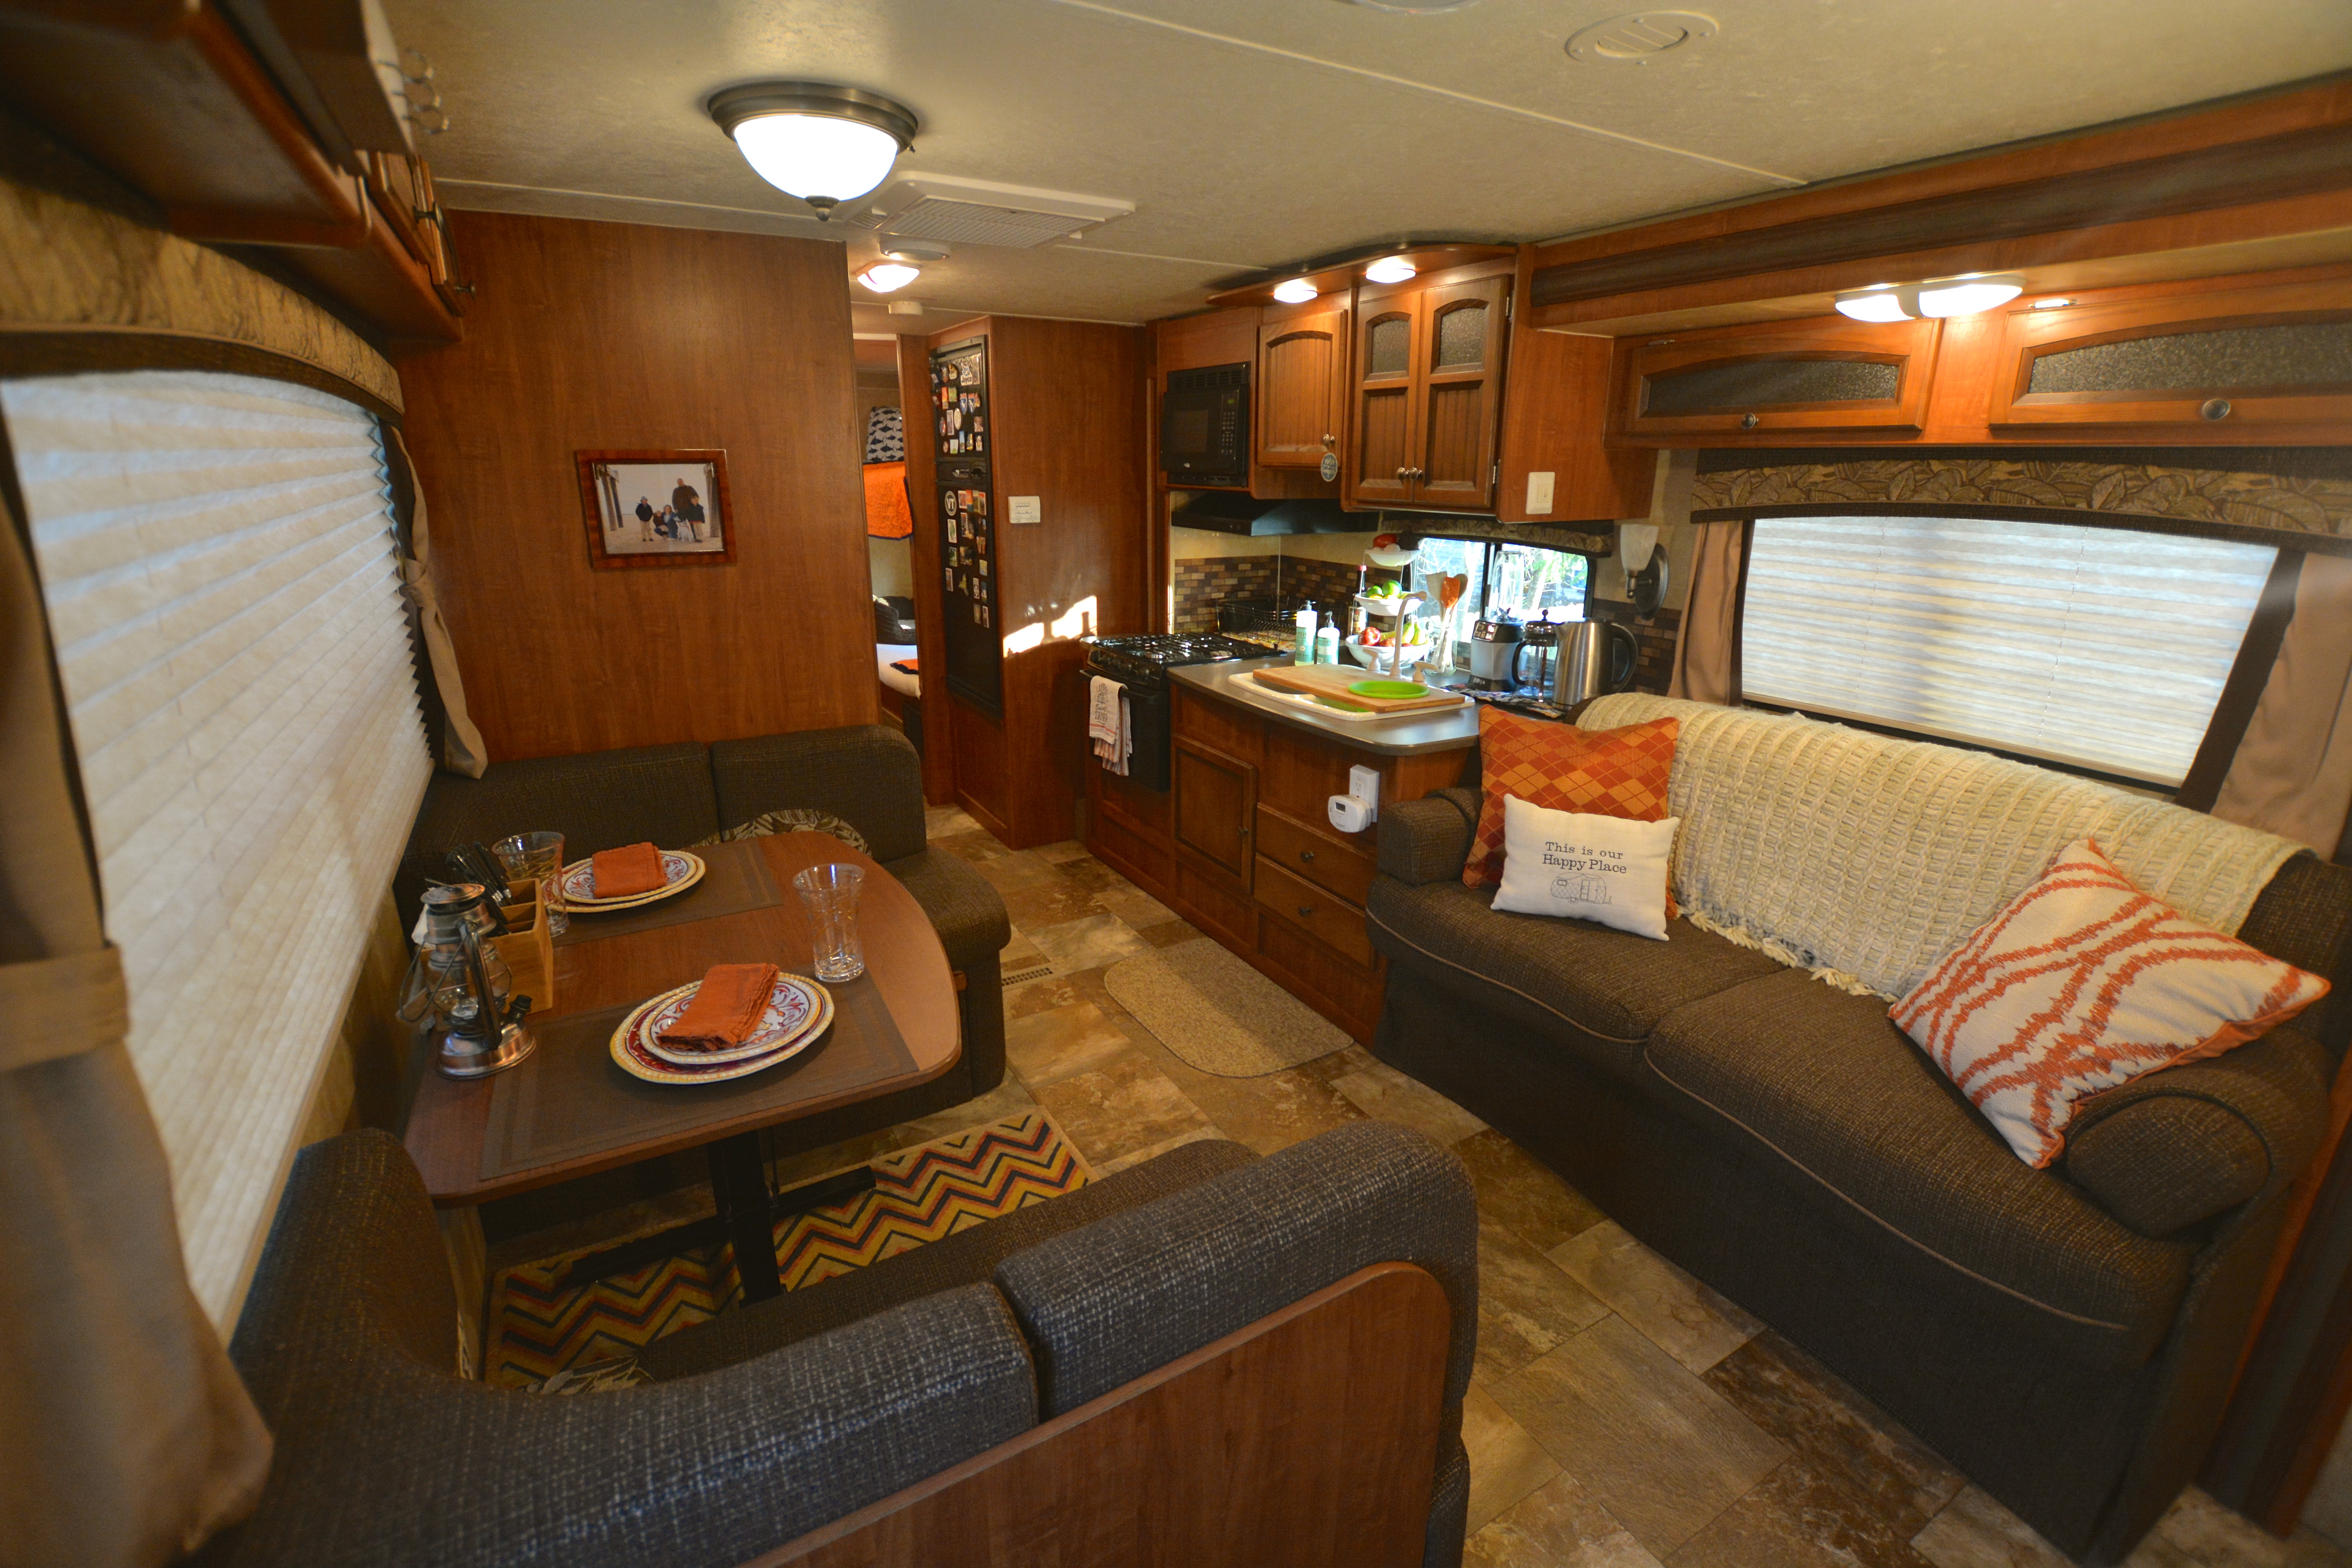
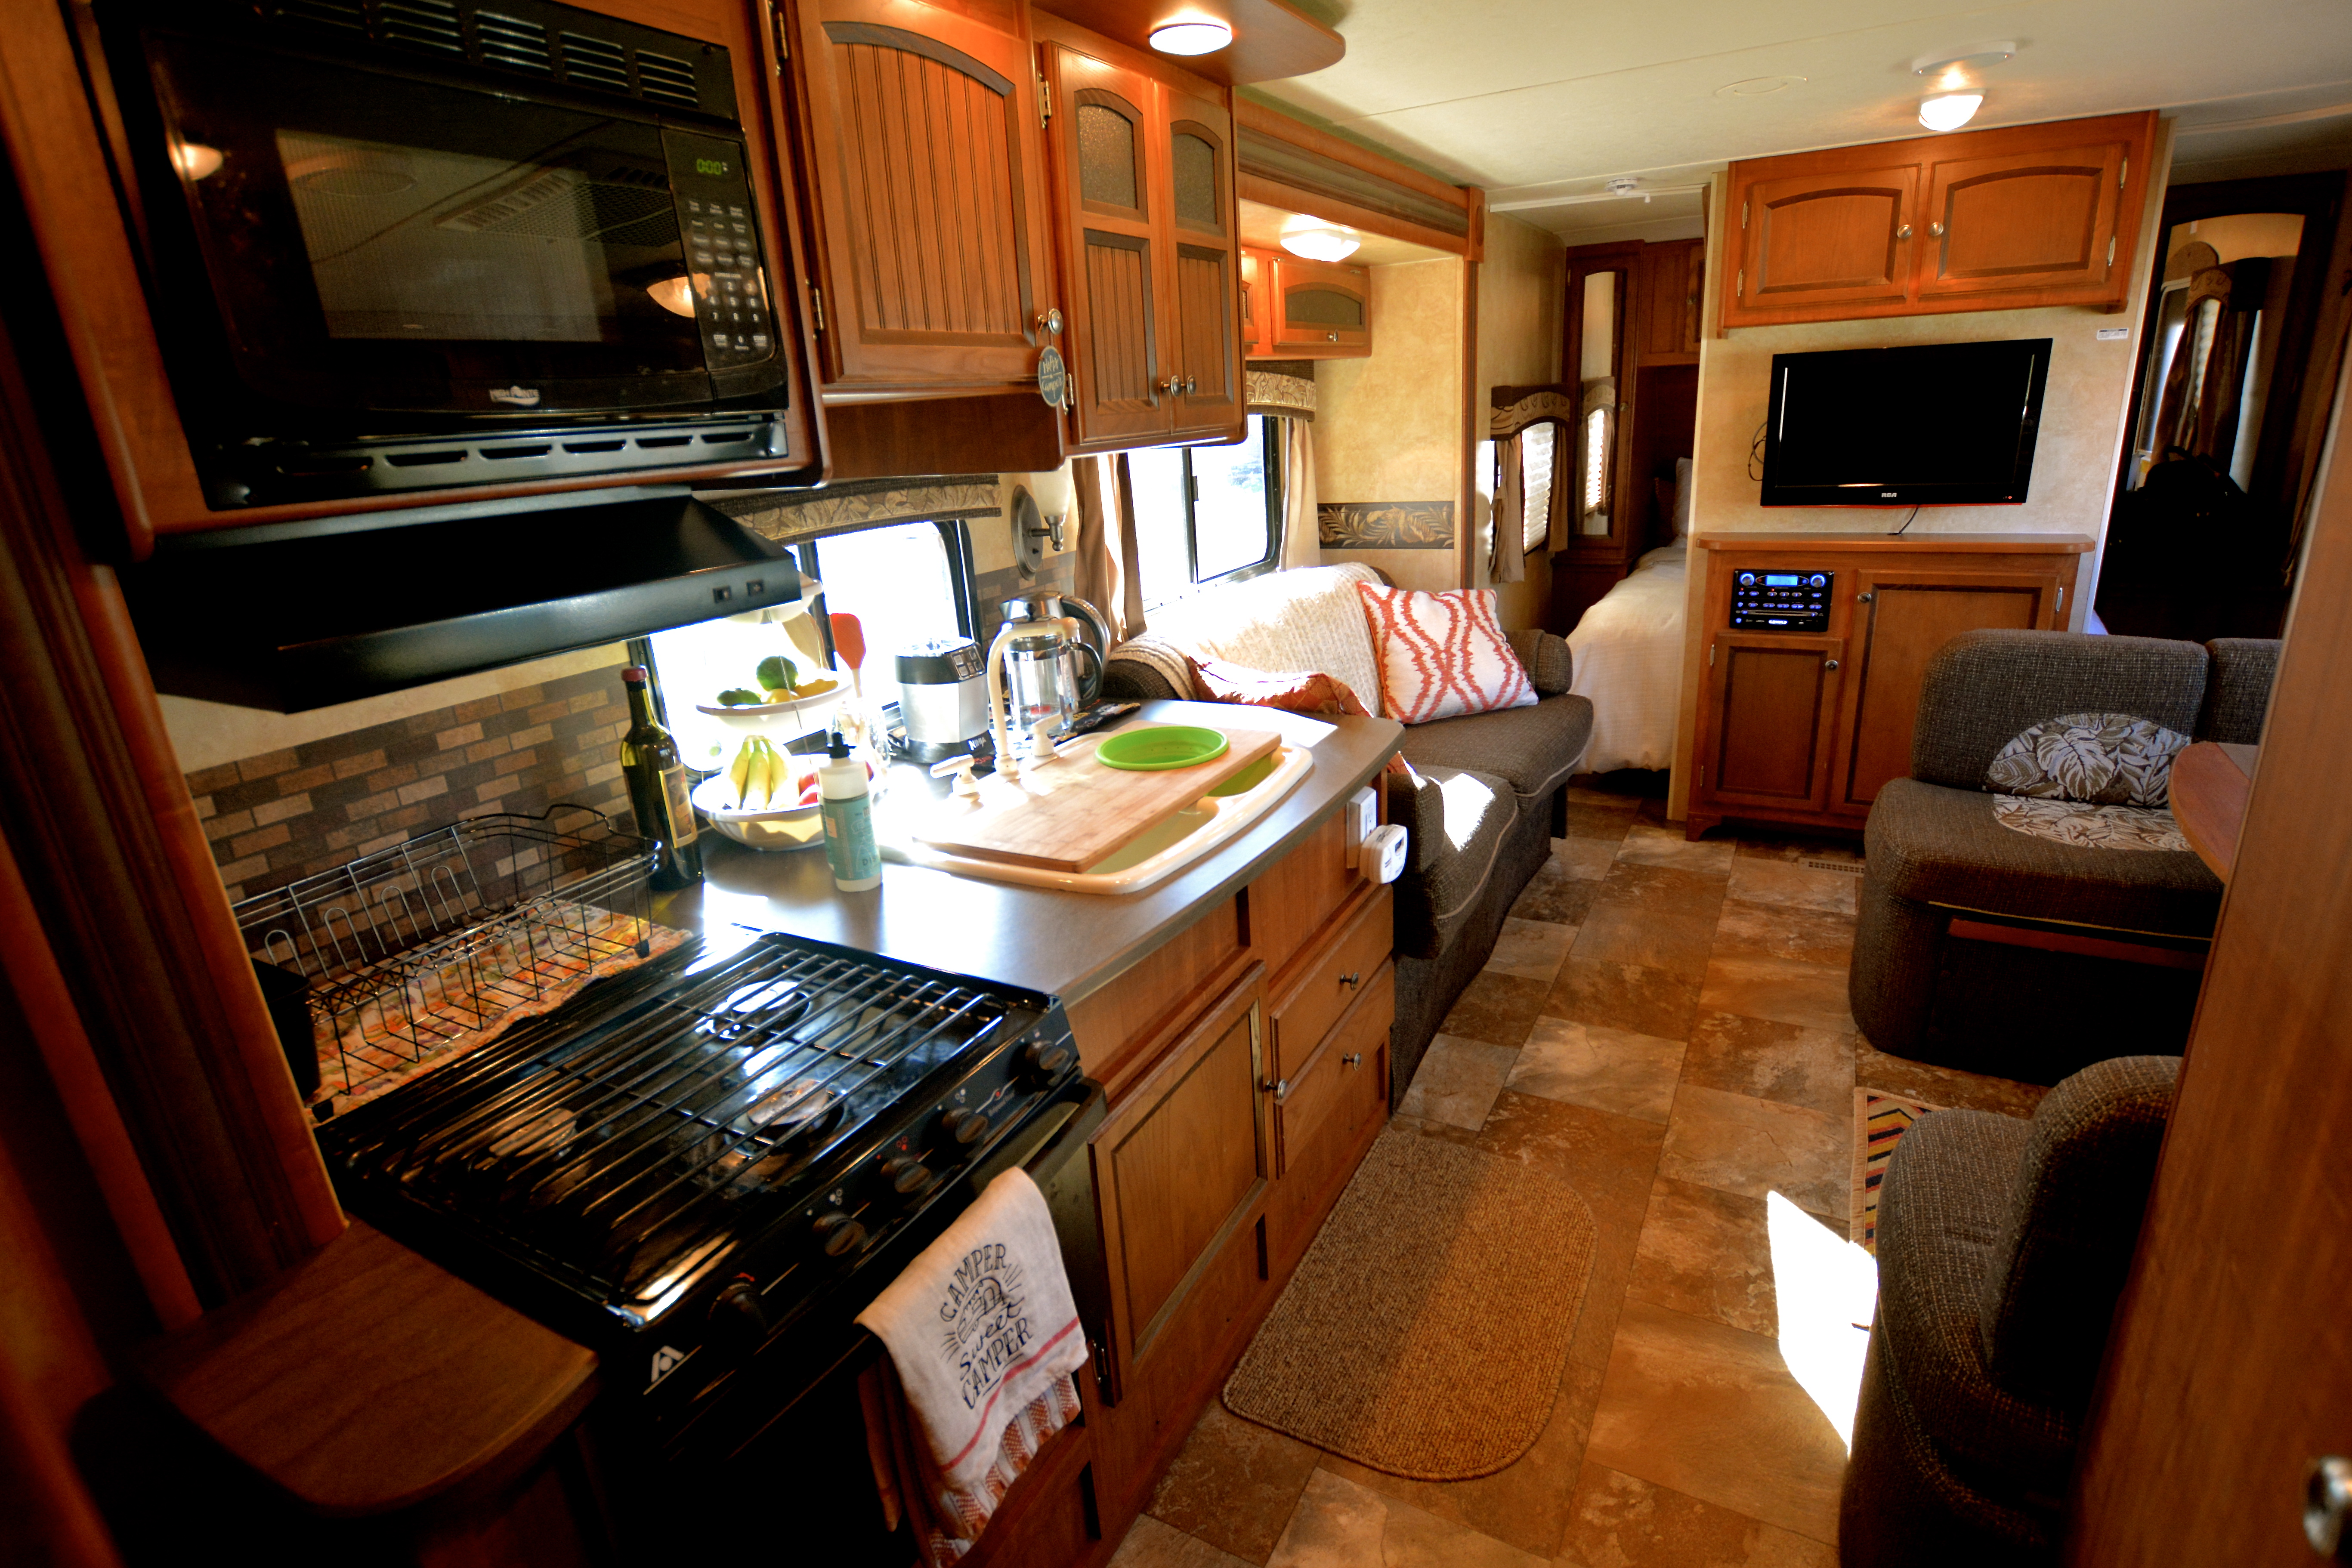
And then I realized that was exactly the point. It wasn’t a big deal. Everyone can do what I did, and with pretty little effort. I didn’t put a single hole in the wall, paint anything, or install shelving and cabinets. I just made our home-away-from-home a bit more pretty.
So here they are. Pictures of my small, no-mod changes that made a big difference for our family. To hear us chat further about the makeover, check out the podcast episode. And a very special thanks to the Pop Up Princess and the Making Something Happy Etsy shop for all your inspiration!
Stephanie’s Five Tips for a No Mod RV Makeover
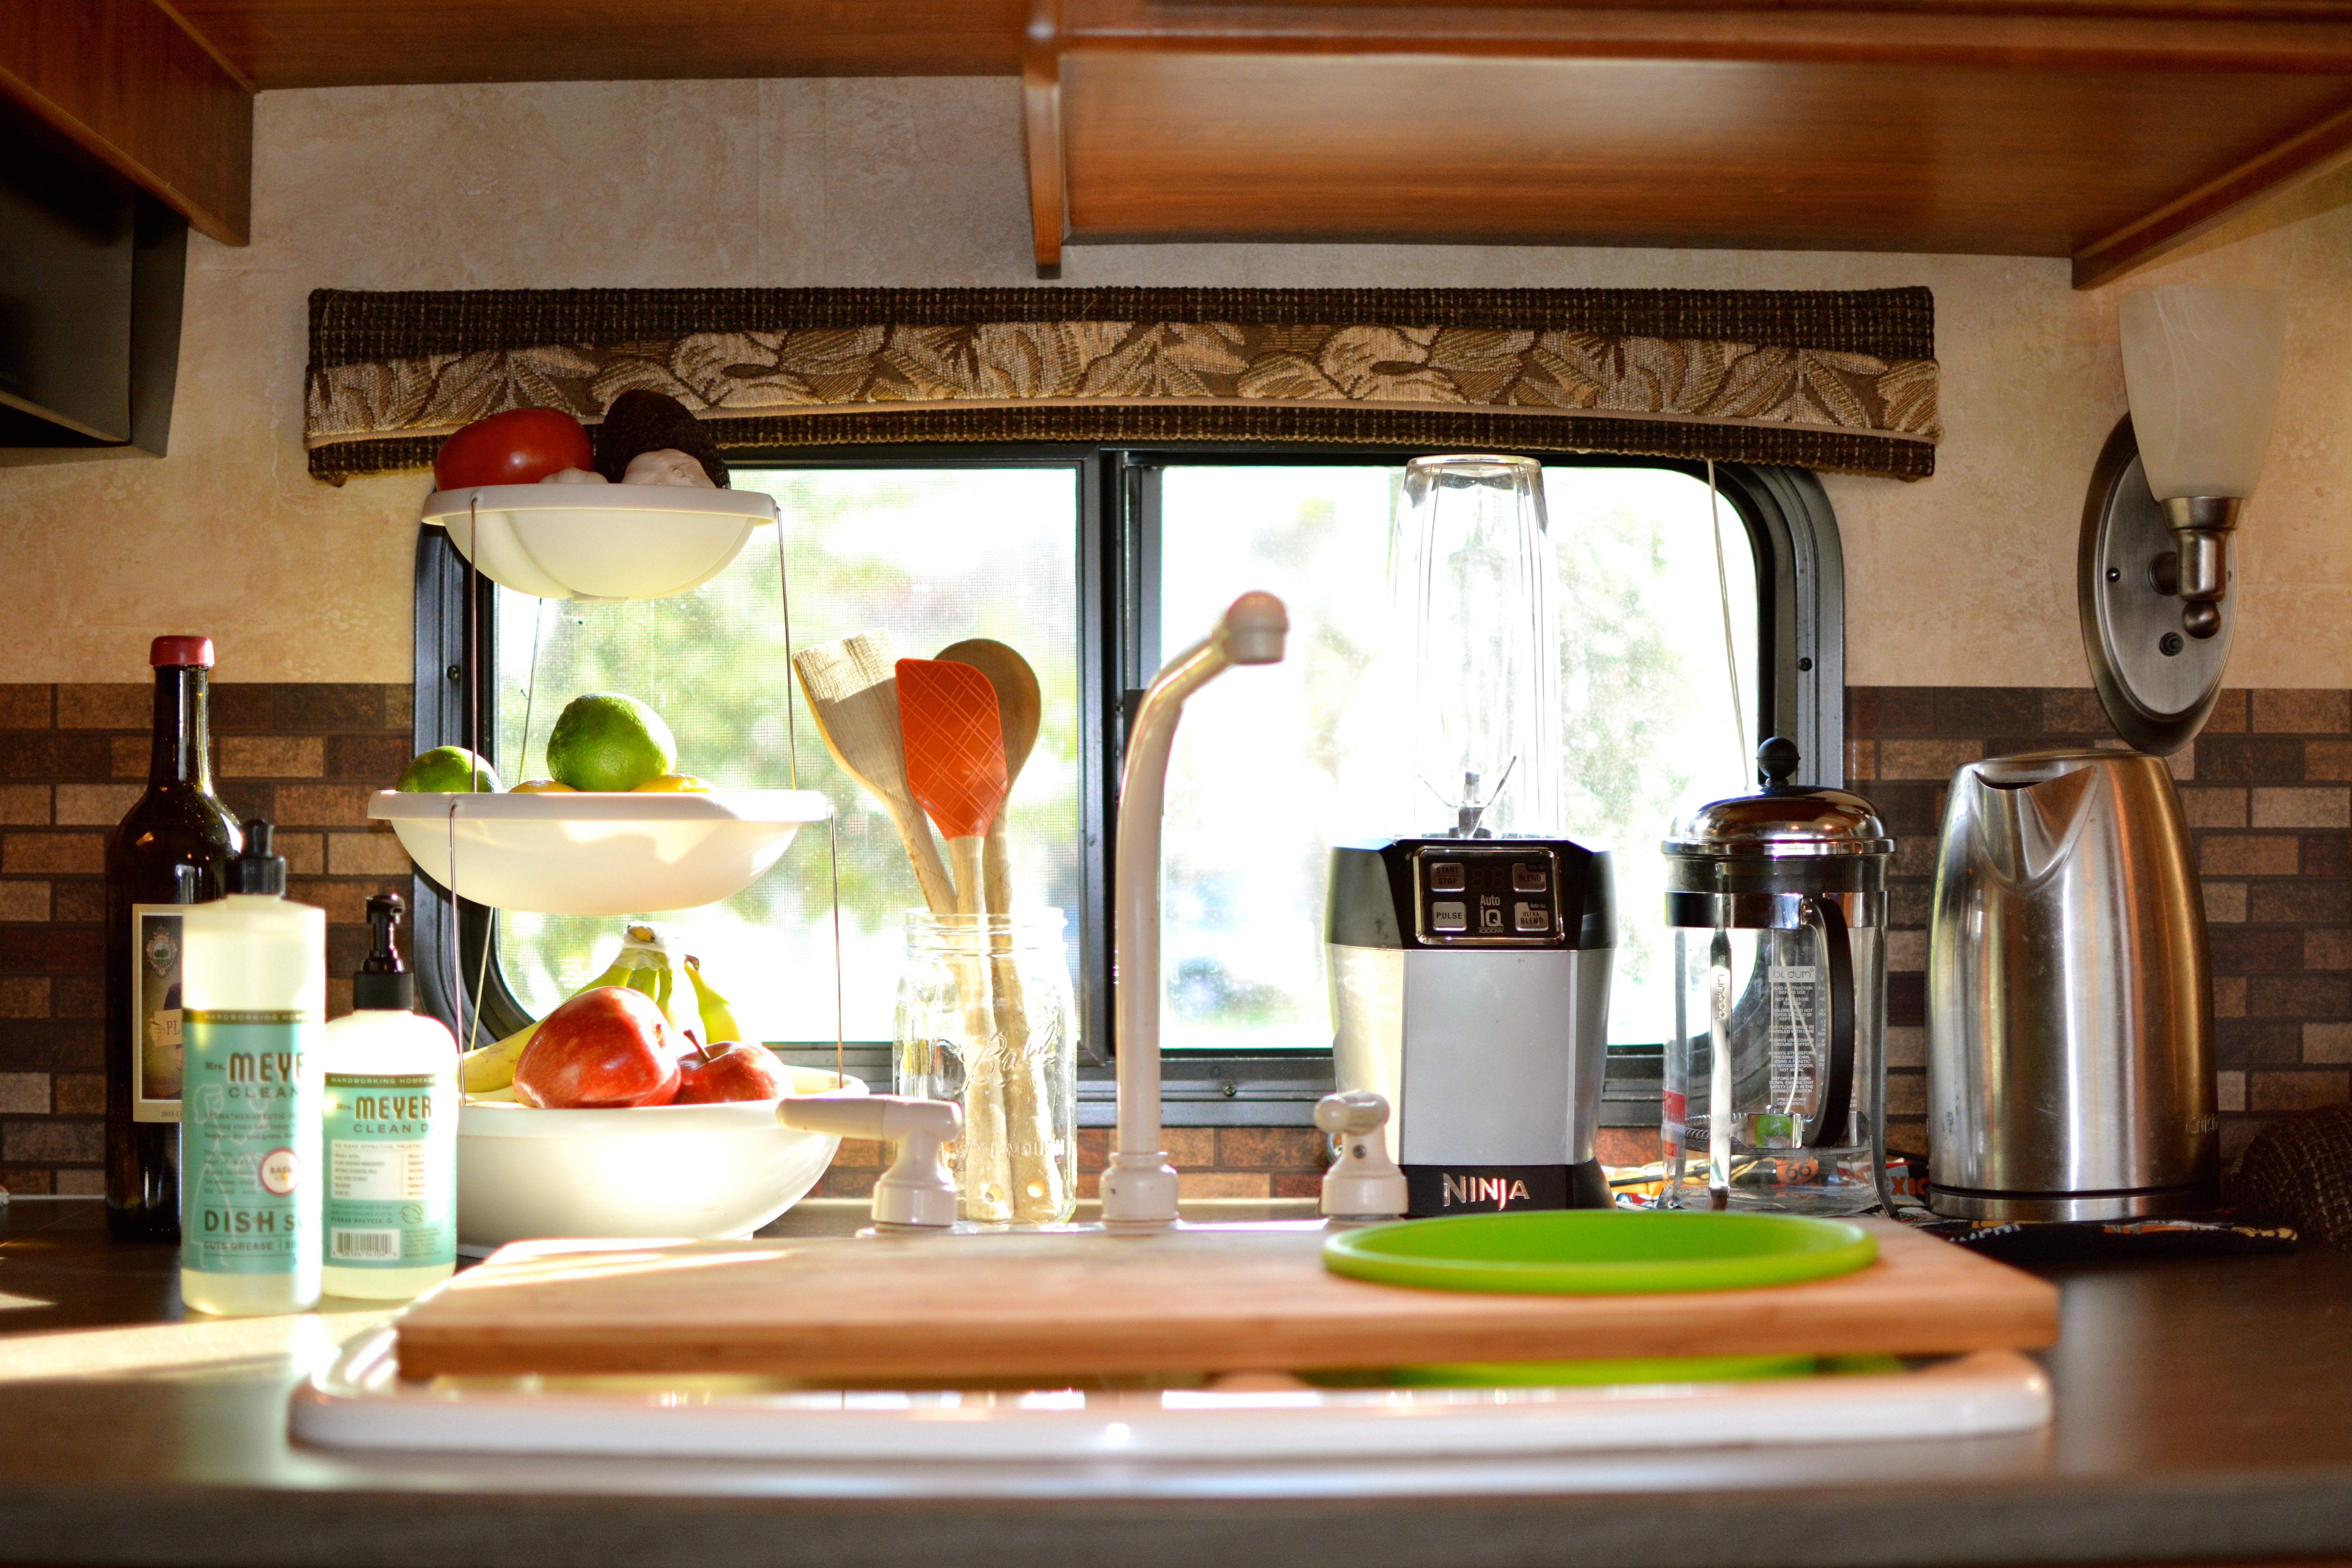
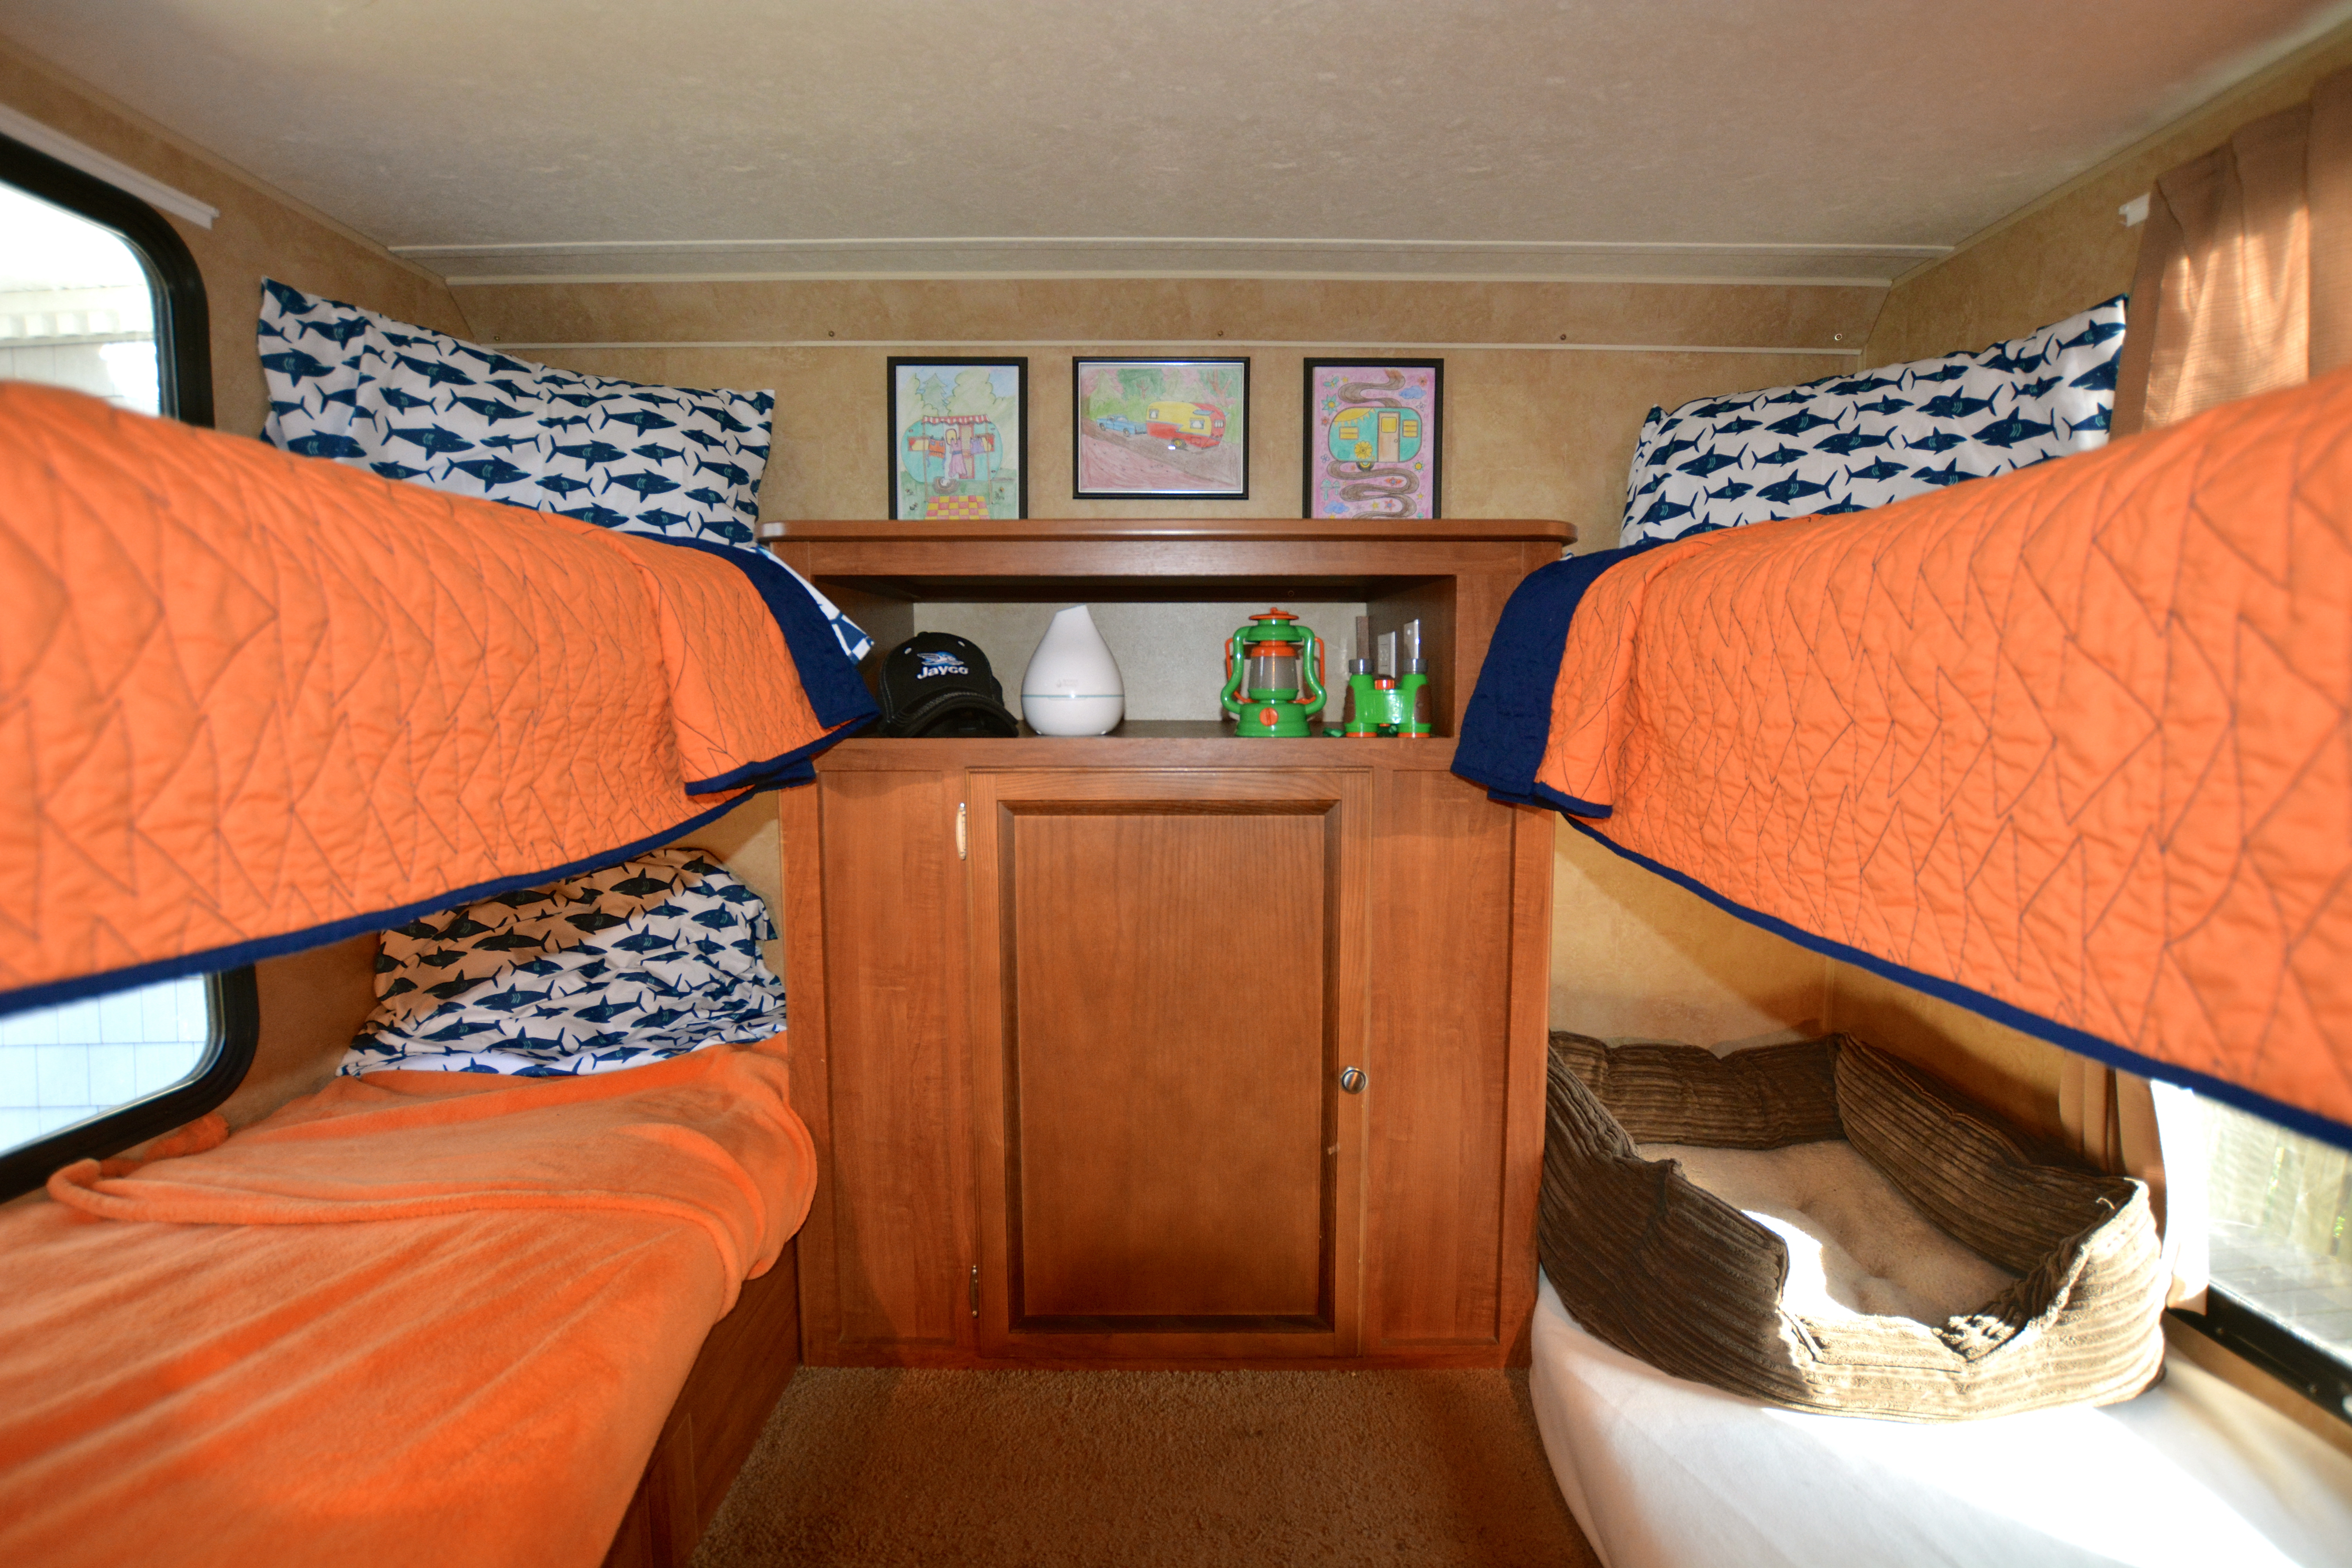
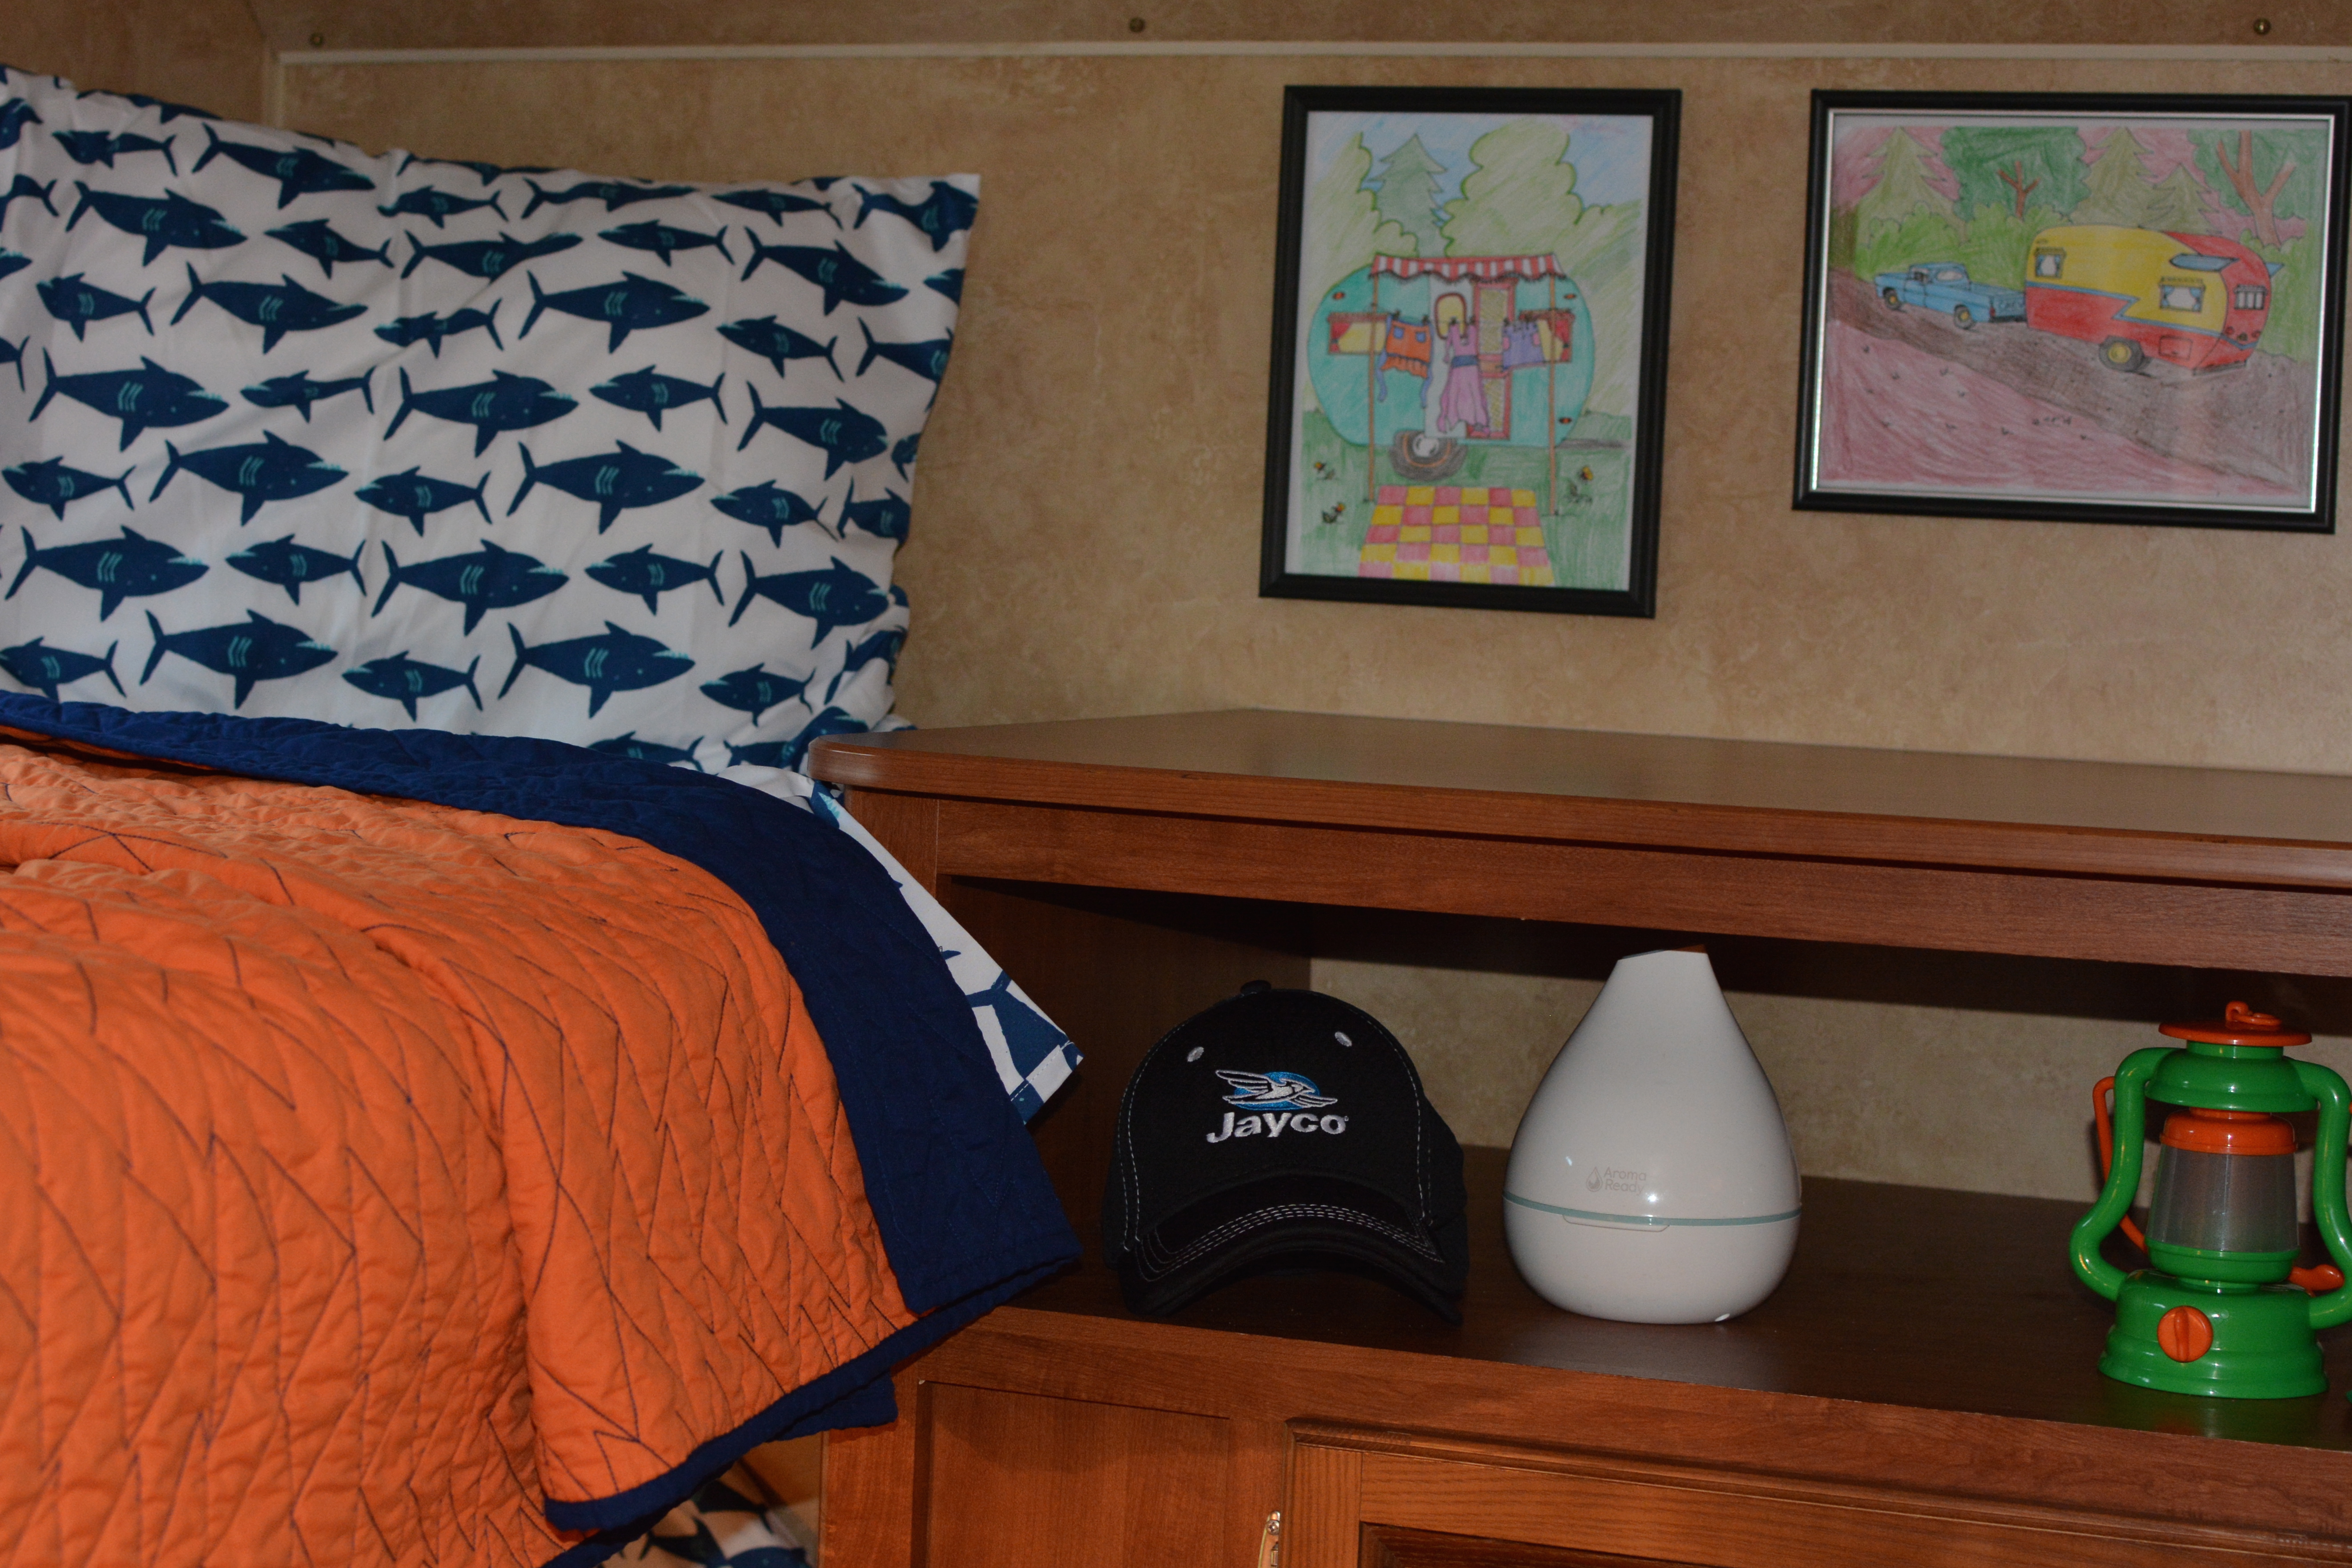
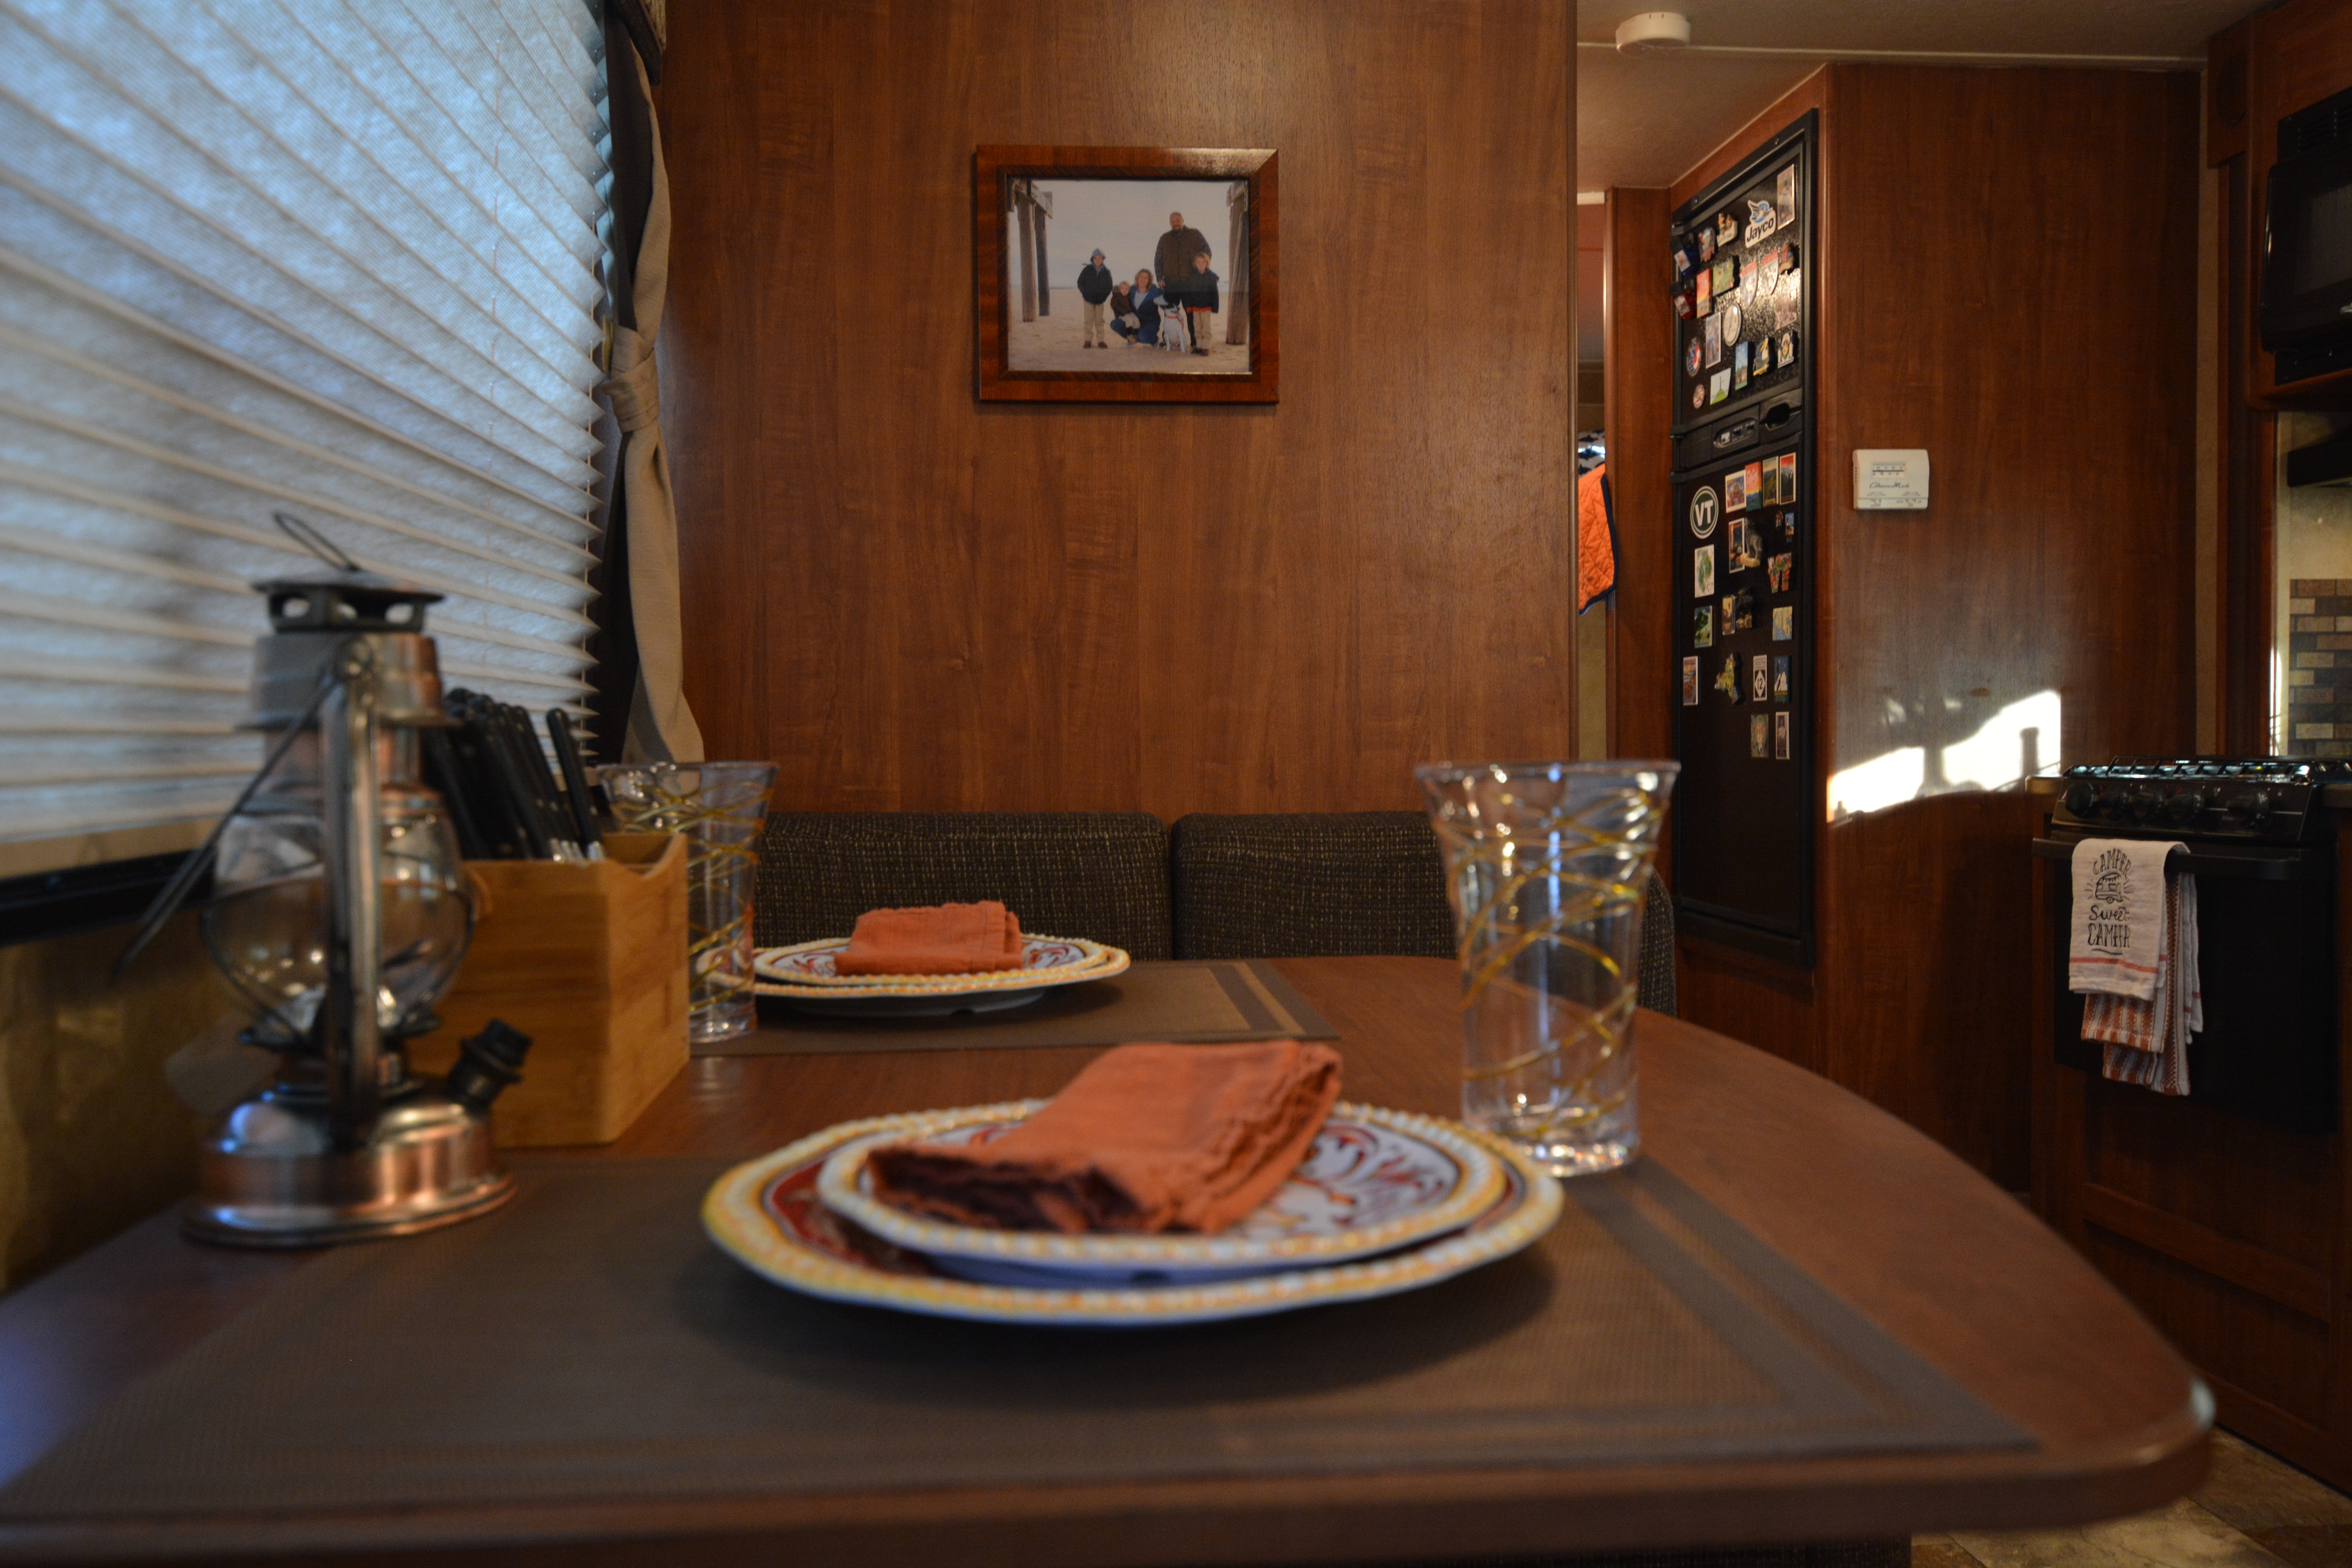
- Choose a modern design color that pops with your 50 shades of brown. All the brown in our trailer can make it feel closed in and dreary. I decided to add one bright pop color that would flow throughout the whole space: orange. Every room has a different version of orange, which makes it feel varied but cohesive…to my eye, at least!

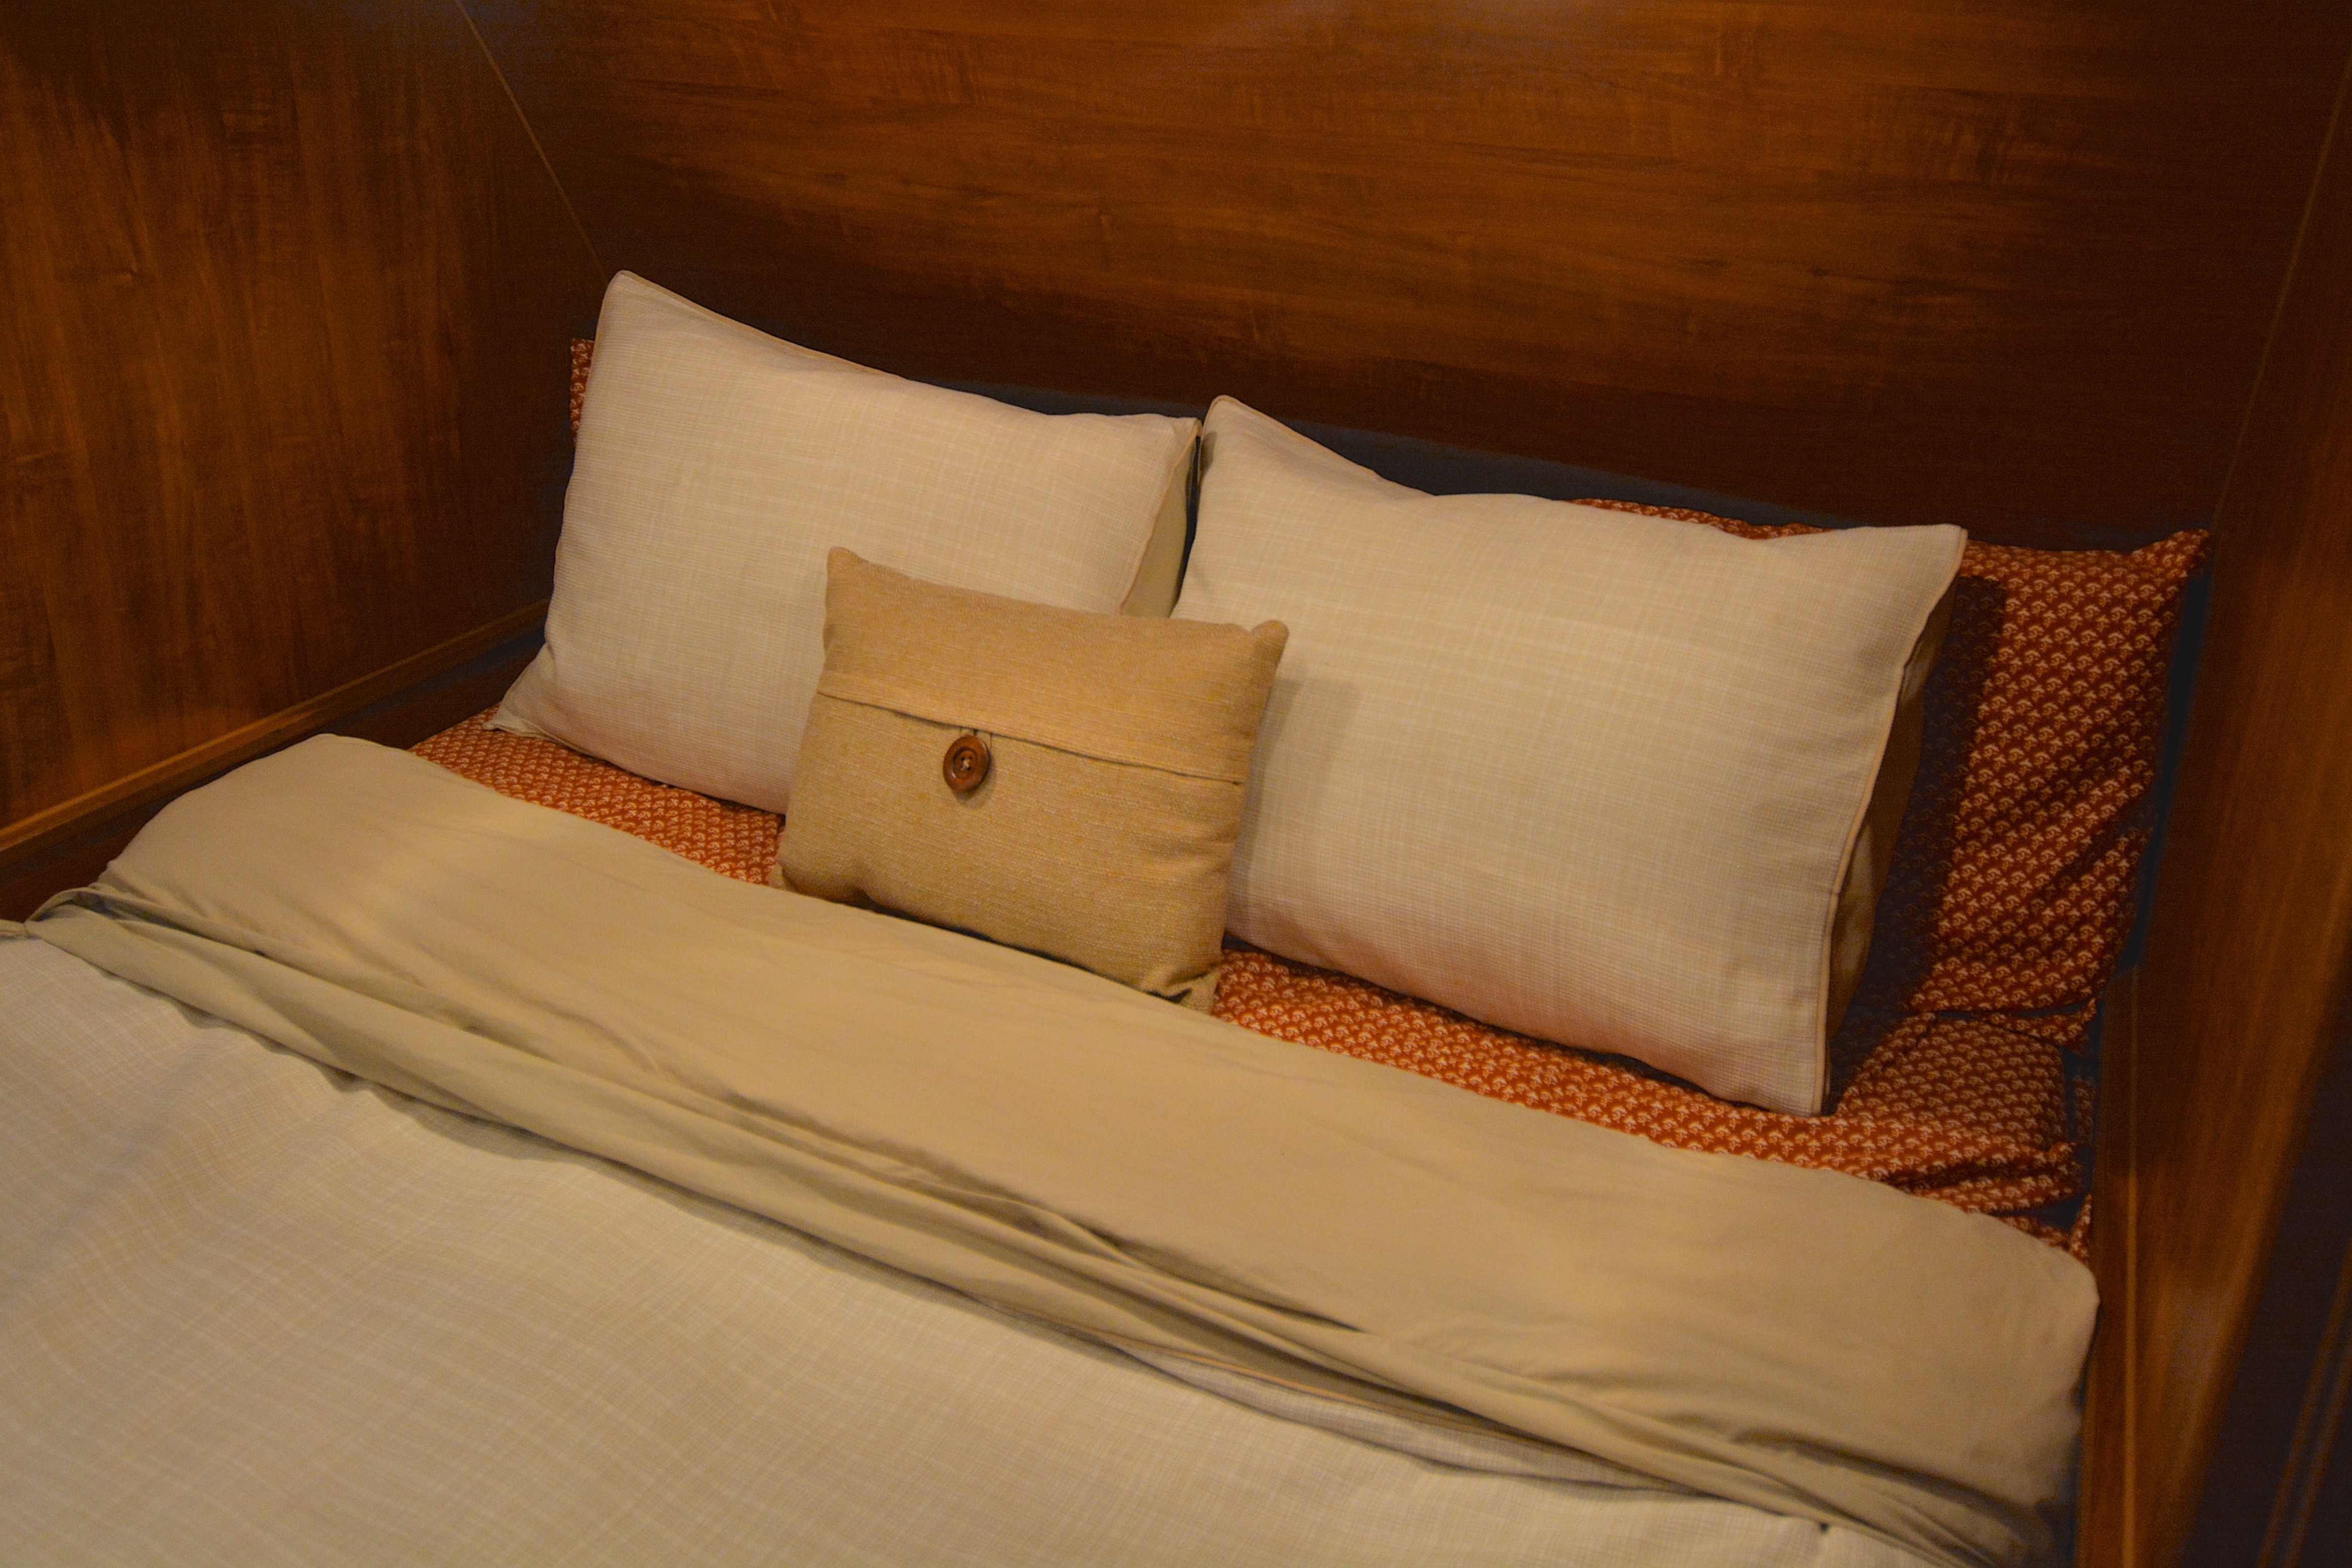
2. Splurge on luxurious and fun bedding.
The boys got matching sheets and blankets from the Pillowfort line at Target, and we got a down comforter with a flax duvet and rusty orange sheets. I’m such a sucker for comfortable bedding that I had been dragging my down comfortable out to the camper before every trip. Now we have 100% dedicated camper bedding and I couldn’t be happier!
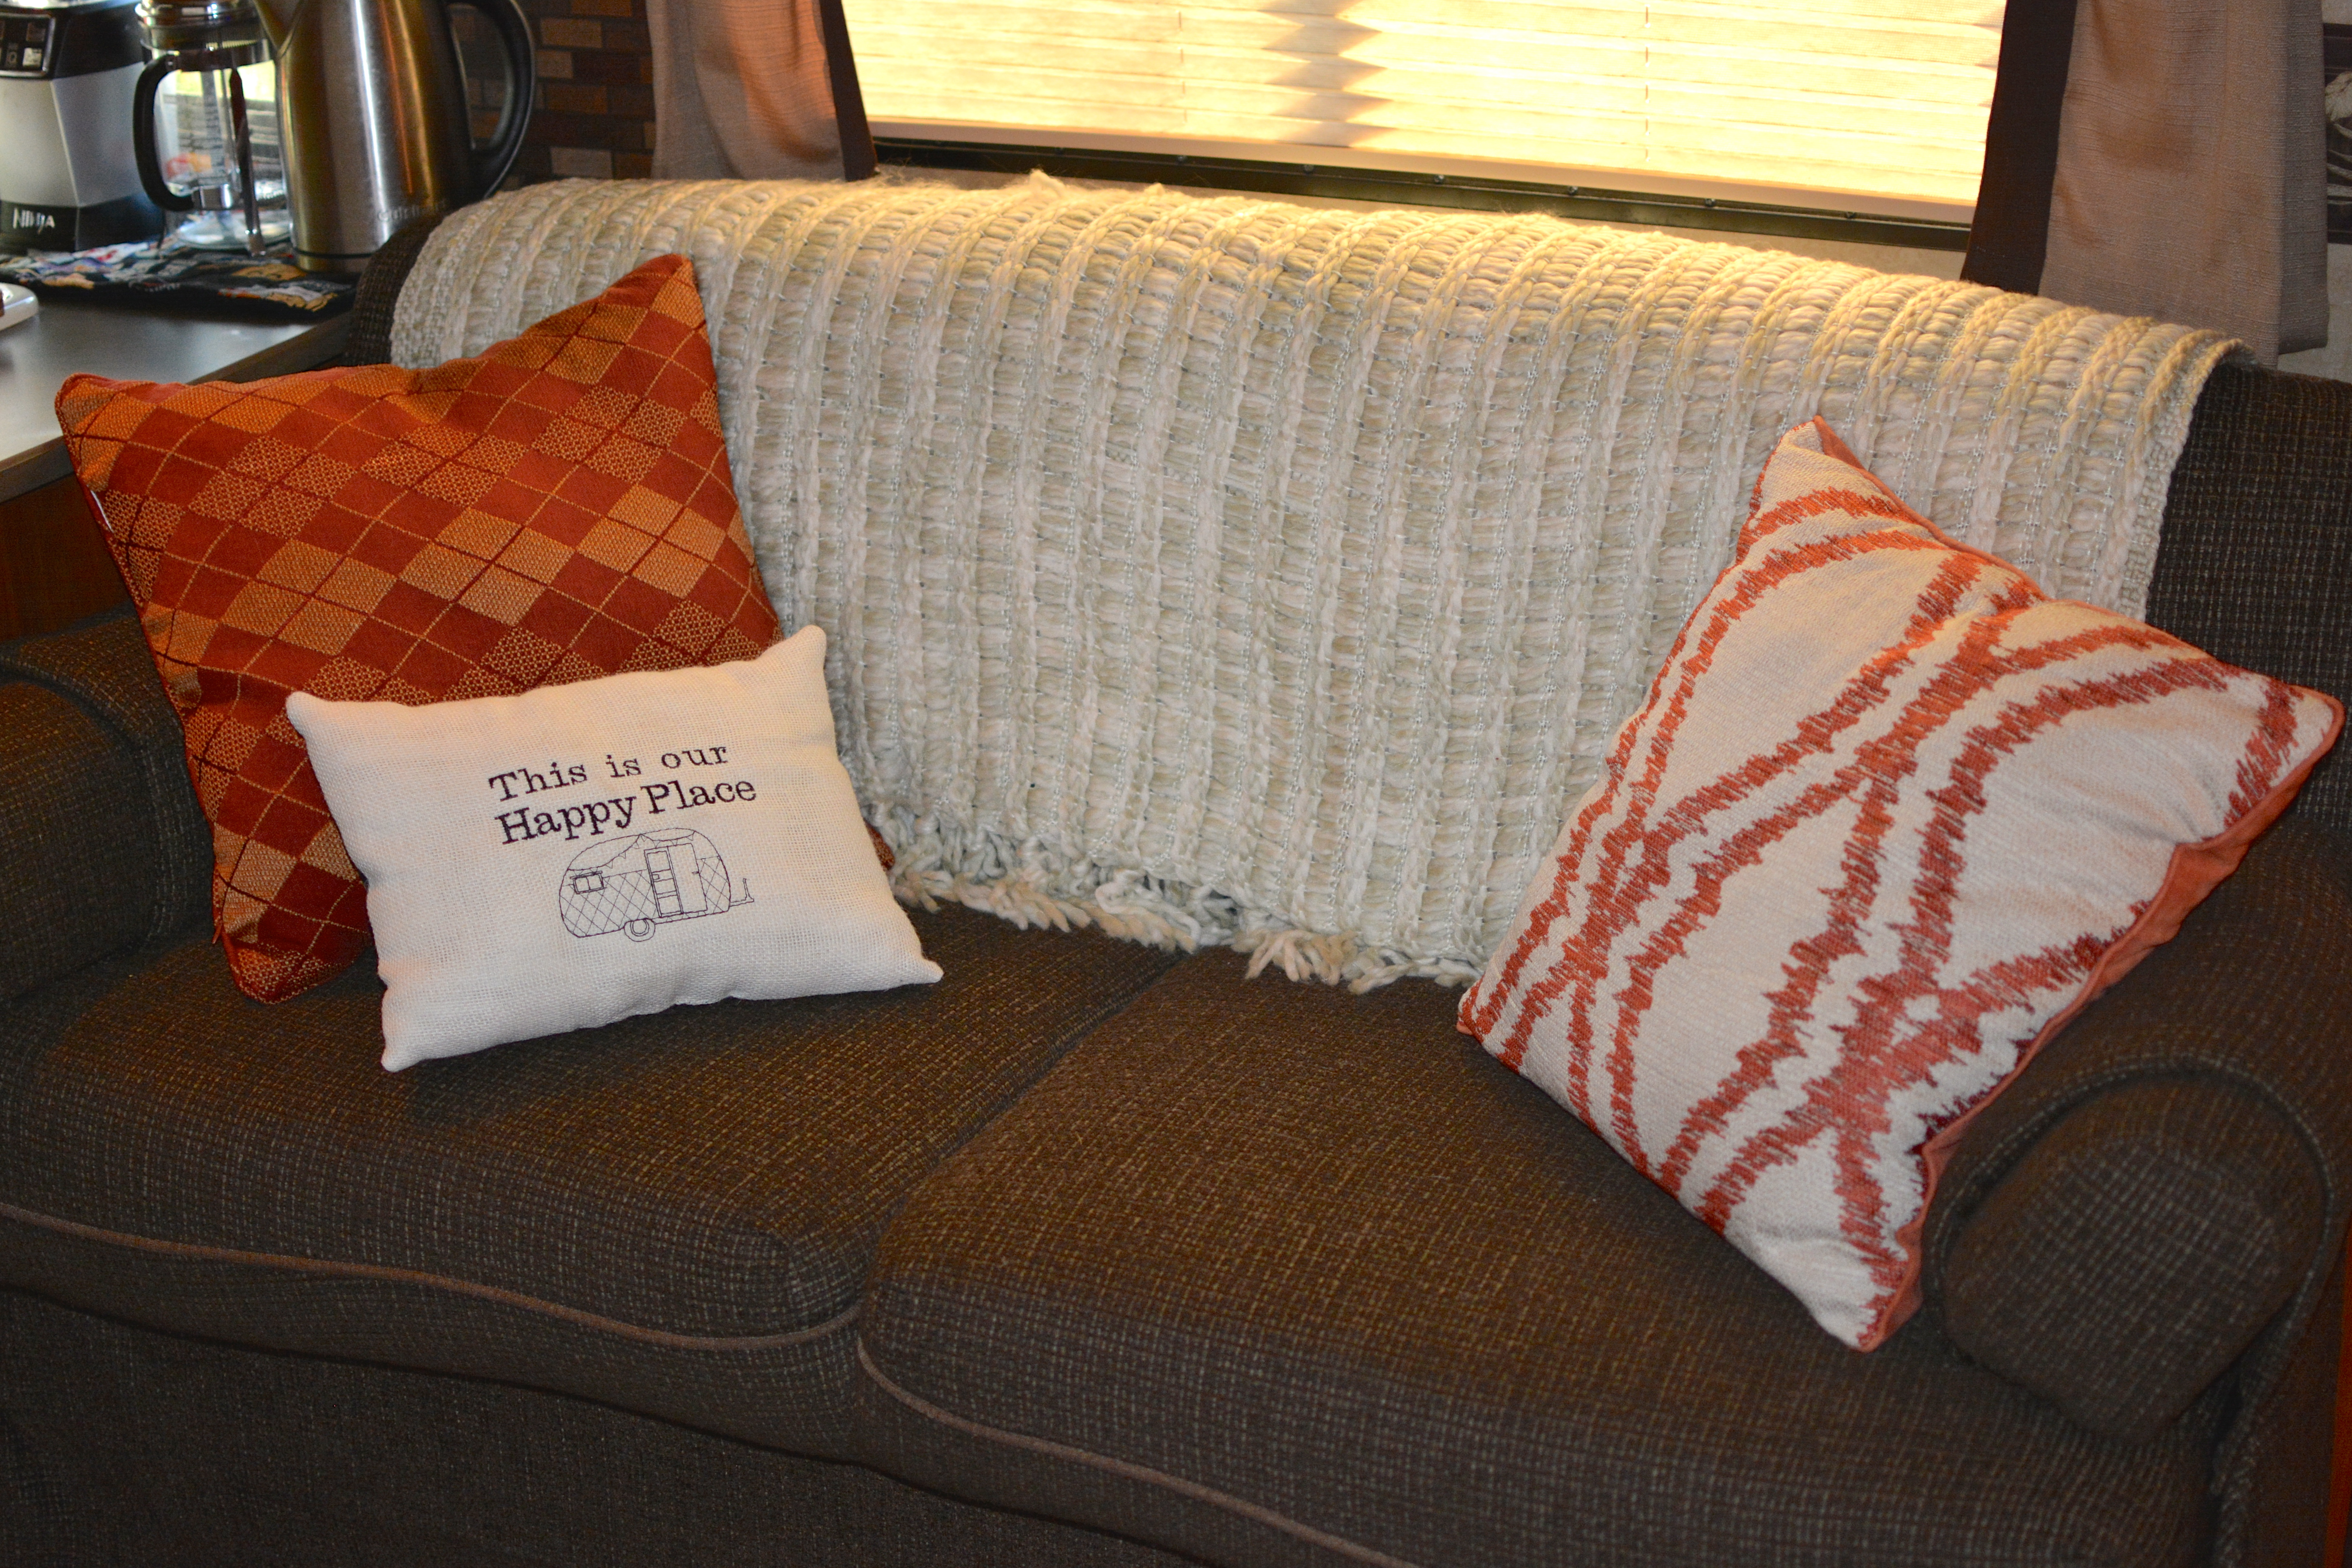
3. Add some pillows and throws.
I hit up Homegoods and Christmas Tree Shops to find some affordable but stylish pillows and throws. I also added one special statement pillow from Making Something Happy.
4. Put up custom wall hangings.
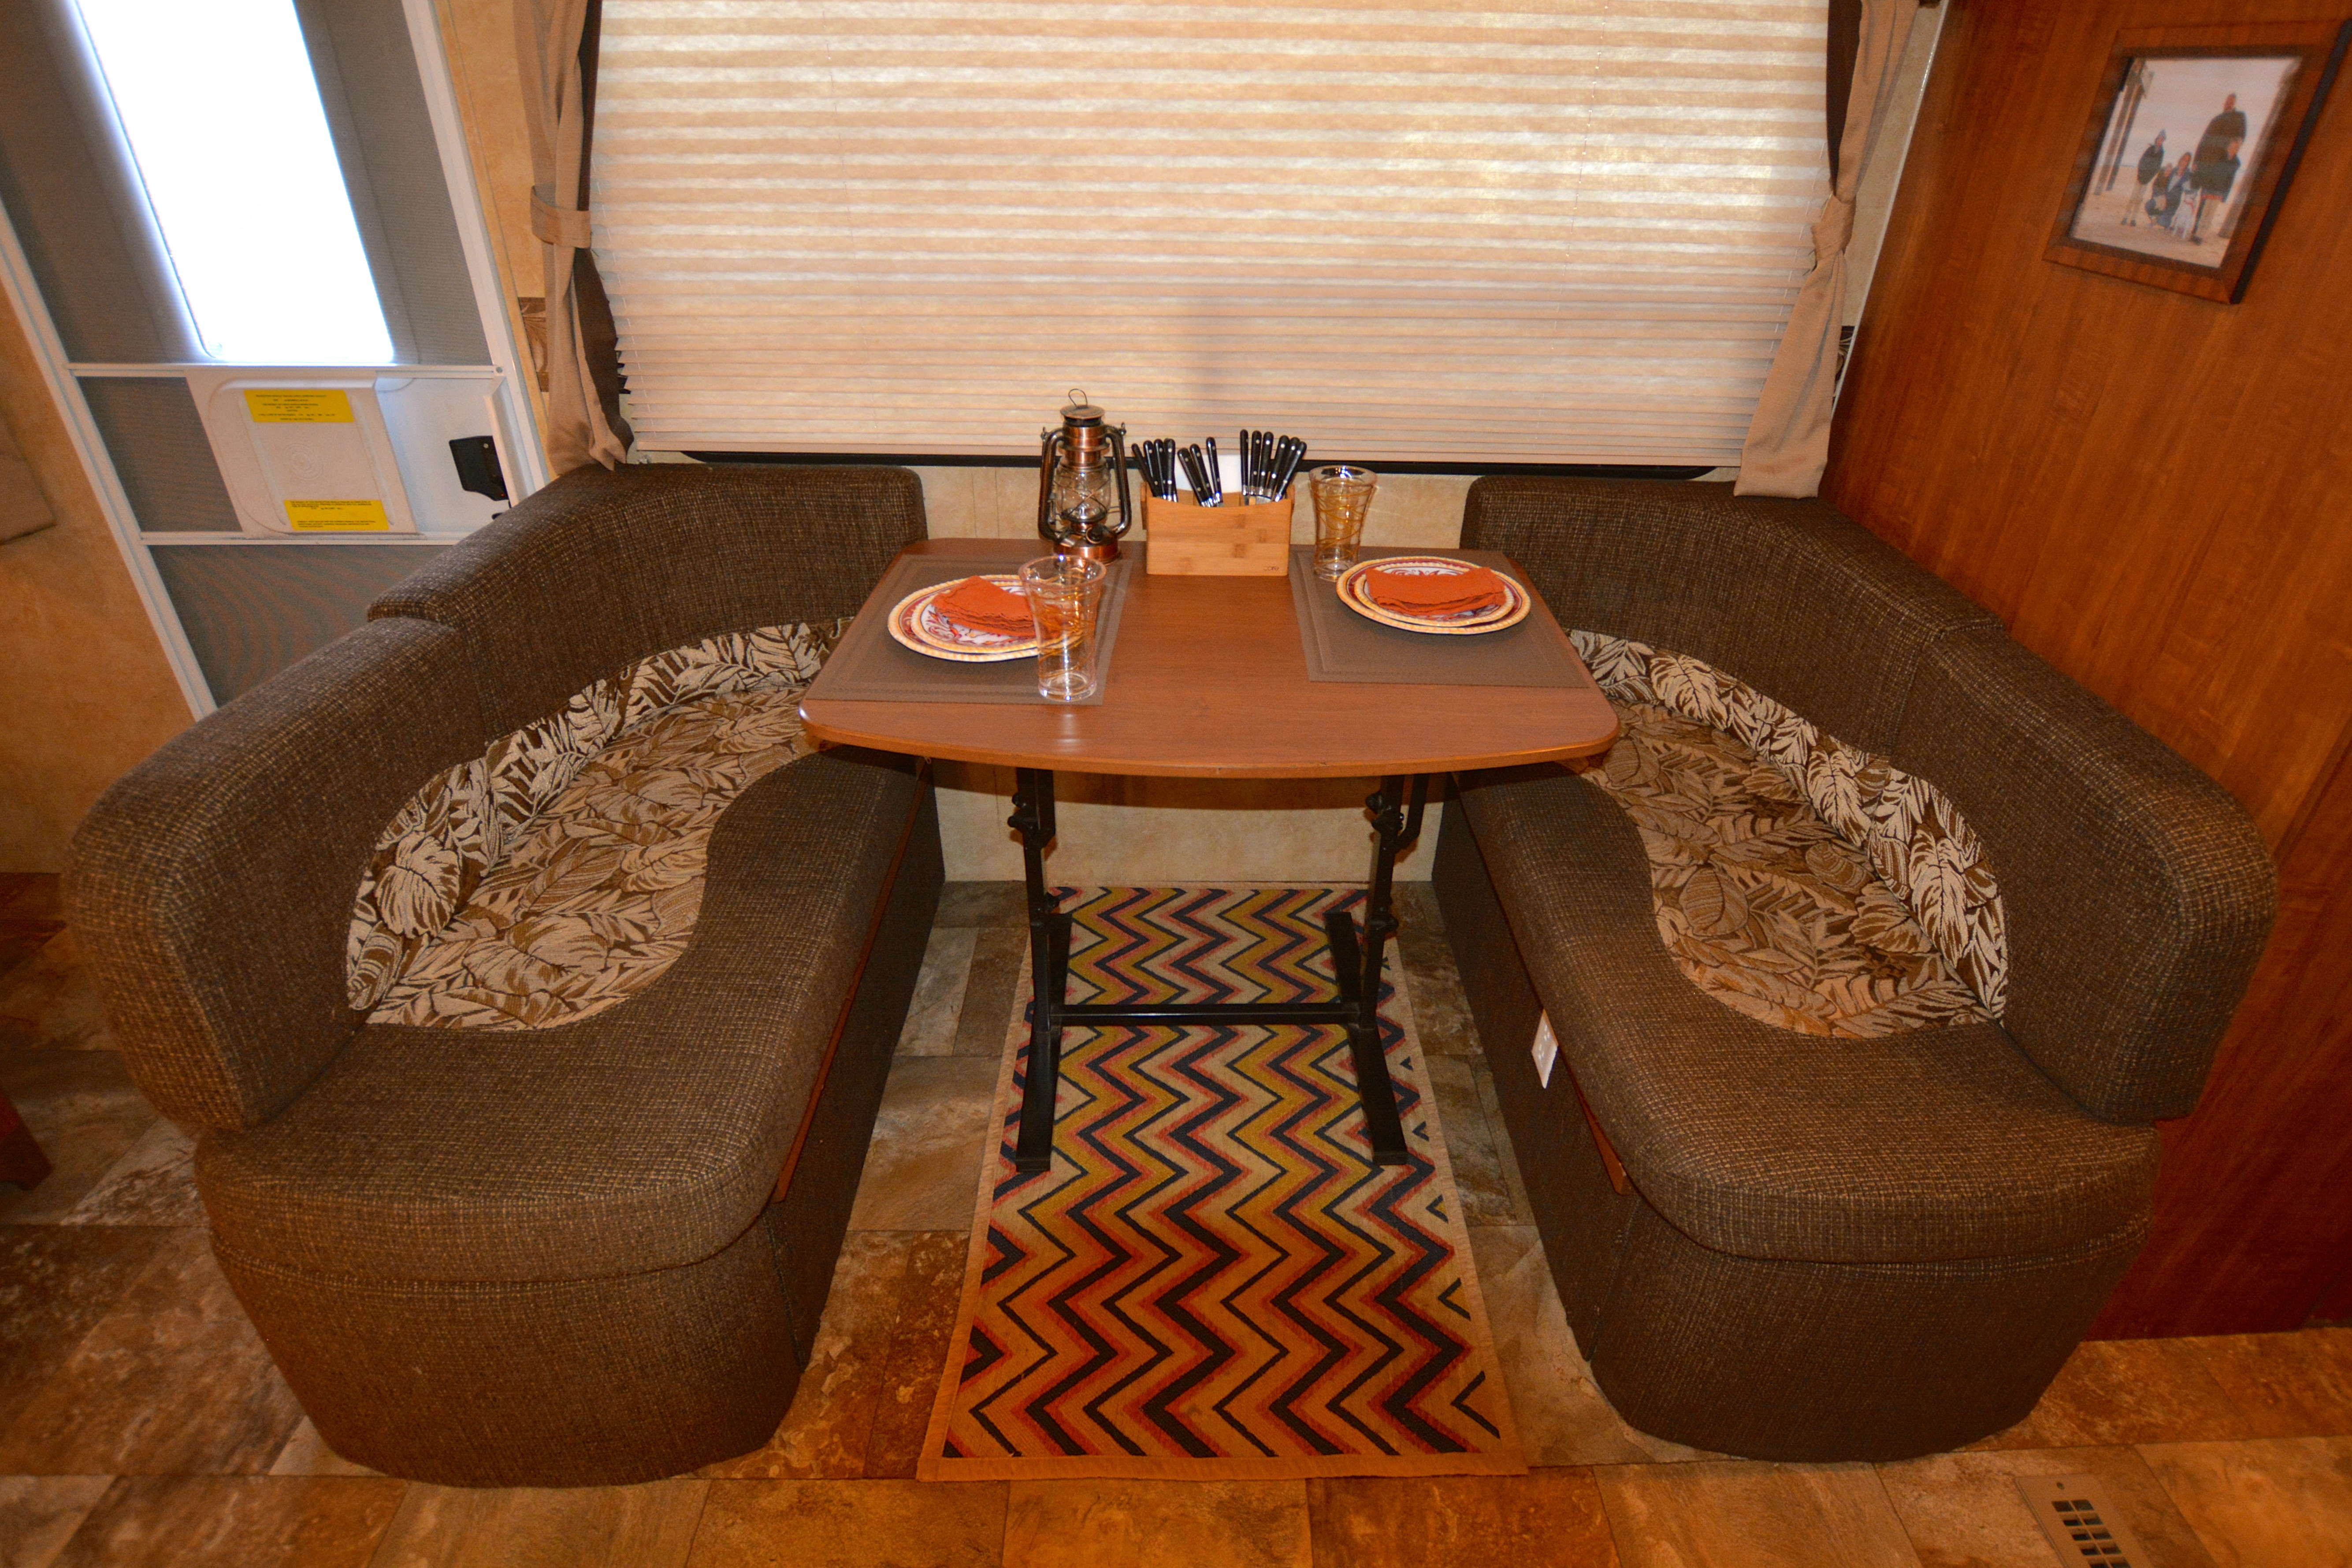
We ran an RVFTA coloring contest this winter, and our boys created some pretty sweet trailer art. A few Dollar Store frames and a box of Command Picture Hanging Strips, and we had added a lot of personality to the bunkhouse. I also added a family portrait to the dining area. That somehow made it feel a lot more homey.
5. Tackle an RV flow issue.
Our u-shaped dinette has been the bane of our existence, taking up far too much room and offering too little in return. The back bench of the dinette is removable in our trailer, so we took it out and pushed the table back. That extra couple of feet has been an amazing change in terms of traffic flow. And to be honest, the seating is more comfortable the way we have it now.
That’s it. That’s my low-budget, low-fuss, no-mod RV makeover. At least for now. I’ve officially caught the RV decorating bug, so stay tuned for more orange additions in the future…

It looks great! The orange really does pop! I am going to have to find what color pops in our RV and made some no-mod changes too. I’m leaning towards navy blue for our greyish blue interior. I just love your RV interior and the layout! I’ve got a lot of inspiration from it.
Light bluish grey? Navy would look great…or yellow or red if you want to jazz it up. If you were from the Jersey Shore, you would go all beachy on that and start decorating with anchors and seashells:-) Have fun and make sure you share pics!!!
It looks fantastic. Just the perfect touches.
Love it! Glad to see the pics!
Thanks, Samone!
I really love the artwork from your boys. It feels very homey and celebrates their creativity. Double win!
Tonight they were coloring more pages, so maybe I will swap out every once in while for variety:-)
Thanks for sharing the pictures. It gives a good visual to how a few small changes can make the RV more homey. Love it!!
Thanks, Ann!
Very nice! I also LOVE that copper lantern…where did you get it, please? Thanks!
Amazon…cheap! So far I love them.
Love your changes! Thanks for sharing the photos.
Thanks so much…glad you enjoyed the photos:-)
I love your “no mod” makeover ideas! Your camper looks so warm and cozy! Thanks for sharing.
Thanks, Kristen…I think I definitely go for the cozy feel in our RV. Like a nest to come home to after each day’s adventure!!!
Looking good! Abe has the same triangle blanket only in black….I love it. I’m a big Pillowfort fangirl.
Thanks, oh queen of the DIY:-)
I love it! I, too, want our RV to be a bit more cozy. We don’t store our RV at our house, so any time we want to do anything with it, the process becomes rather involved with our two little kids. These tips are so practical and simple! I can’t wait to spruce ours up!
I read your 5 items and was thinking “YES, yes, did that, that too!” …we just purchased our first travel trailer and my first thing was happy bedding (pillowfort for the kids and Walmart for us)! Just sewed up some curtains in a cheerful turquoise to replace that blah brown! Sewed up some covers for throw pillows and found a cute framed quote at hobby lobby! My happy place has to be cheerful!!